Setting up your IDE (integrated development environment) for your Macchina:
Note: these instructions are for IDE version 1.5 and newer. If you are still rocking the older, 1.0 version, see next section for setup instructions.
Since Macchina 1.0/1.1 is based on an Arduino MEGA 2560, most of the setup steps found on the Arduino site are still applicable, but there are a few exceptions.
http://arduino.cc/en/Guide/HomePage#.Ux-r9yRkKbK
To get your computer talking with the Macchina, follow these steps:
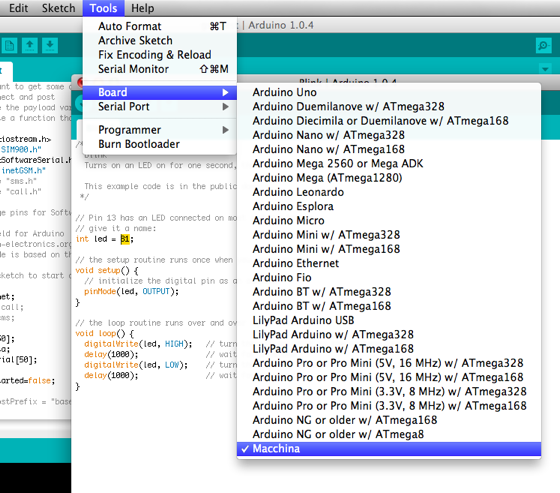
Step 1: Tell Arduino IDE about Macchina so it shows up in "Board" list under "Tools":
If you are on a Mac, first you will want to hold down 'control' and click the Arduino application icon - then select "Show Package Contents". Next, find the file called "boards.txt" which is can be found at: Contents>Resources>Java>hardware>arduino .
If you are using Windows, open the folder where the 'Arduino' application is found. Then find the file "boards.txt" which can be found at: Arduino\hardware\arduino\avr\boards.txt
Paste the following to the end of that file:
and then save, and close.
Step 2: Tell Arduino IDE that Macchina has a few more pins available.
The original Mega 2560 has a few un-used pins that we decided to use for some of the added interface circuitry, LEDs, etc. The goal here was to stay as compatible-as-possible with existing shields out there and we didn't want to step on any of these pins. To make use of these extra pins, follow these steps:
Create a new folder called "macchina" in the "variants" folder. ('variants' can be found on a Mac at: Resources>Java>hardware>arduino>variants, on a PC at: Arduino\hardware\arduino\avr\variants)
Download the attached "pins_arduino.h" file to this folder. This file tells the IDE that the Macchina has some extra pins. Make sure this file reads exactly as "pins_arduino.h".
Put this file: pins_arduino.h inside this new 'macchina' folder.
Restart the Arduino IDE to make sure all the new settings are loaded.
Step 3: Verify it all worked by uploading test sketch.
To verify that everything is set up correctly, try out the "Blink" example.
Select "Macchina" from the boards list, hit the upload button, and you should see the TX/RX LEDs blinking quickly. This means the code is being uploaded to the Macchina.
Within a few seconds, if all is well, you should see a blinking LED!
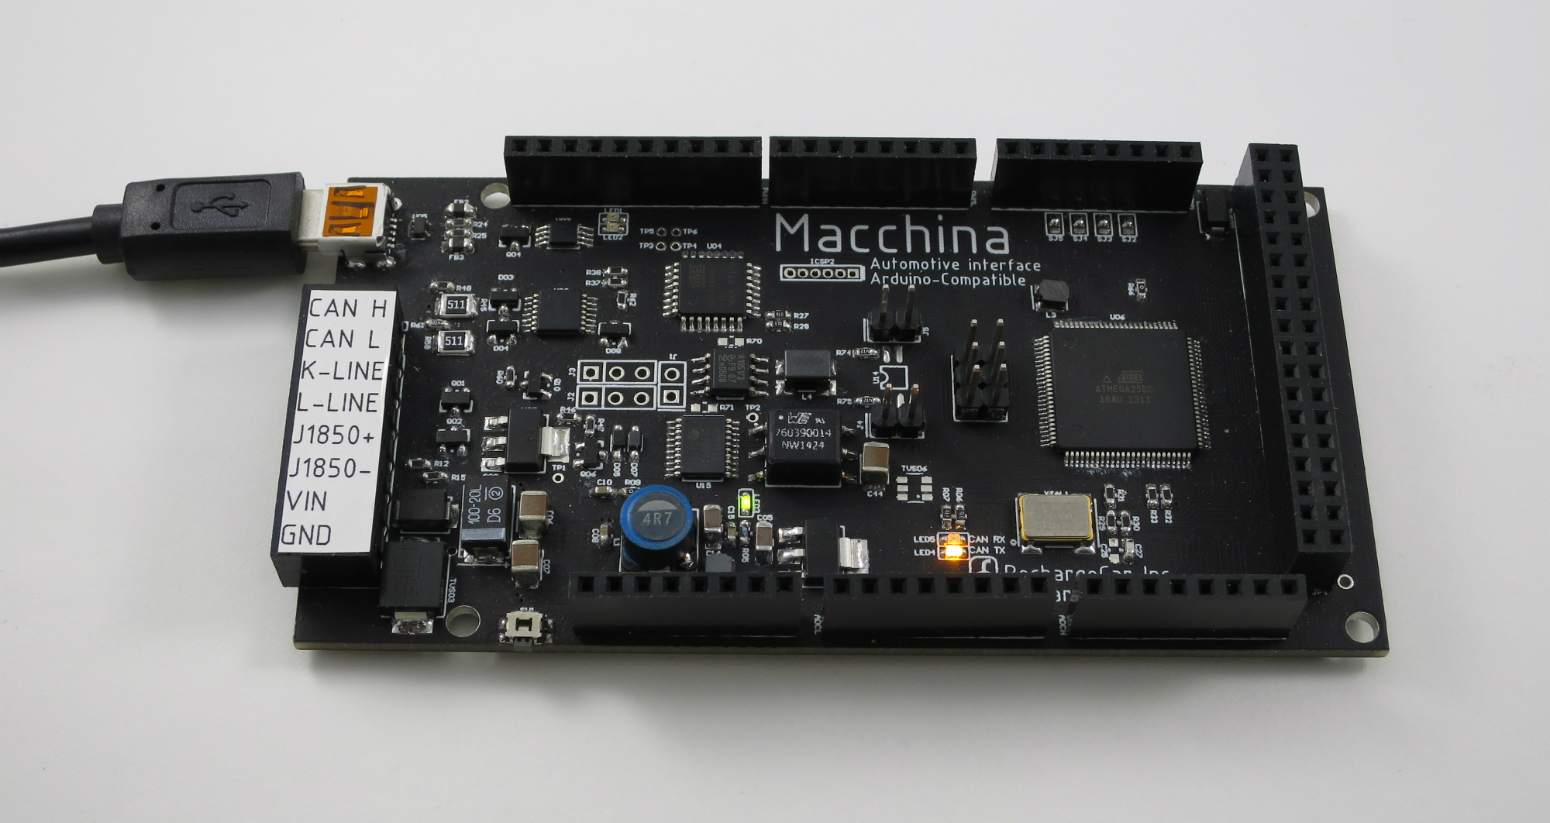
Note that pin numbers 81 (labeled "CAN TX") and 82 (labeled "CAN RX") are the on-board LEDs on Macchina, these pins would not normally be available on a typical Arduino Mega, but were made available during step 2.